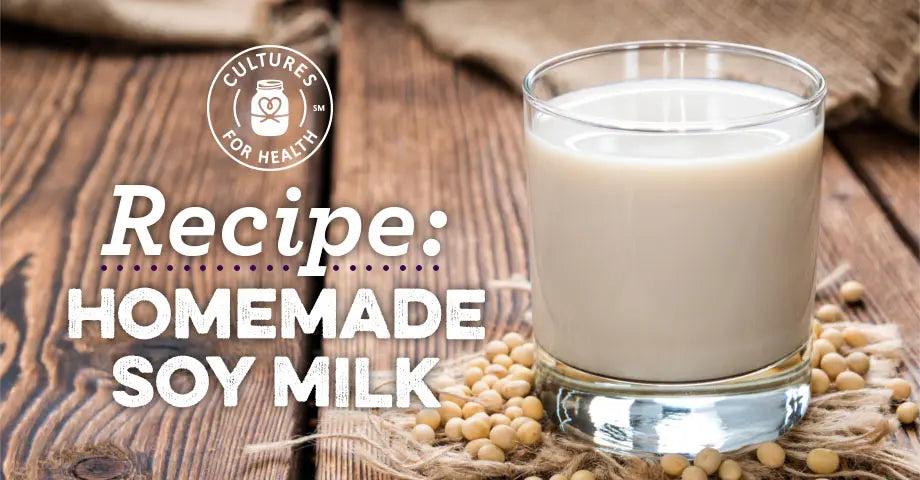
Unlock the Delicious World of Homemade Soy Milk: From Bean to Bottle, Tofu, and Zero-Waste Pulp Recipes
Are you tired of expensive, often overly sweetened store-bought soy milk with ingredients you can barely pronounce? Imagine a world where your soy milk is not only fresher, creamier, and more affordable but also completely customizable to your taste. That world is closer than you think! Mastering a simple homemade soy milk recipe is a culinary skill that opens doors to a variety of plant-based delights, including fresh tofu and creative zero-waste meals from the leftover pulp.
While some might think making soy milk from scratch is a daunting task, it's surprisingly straightforward. It does require a bit of "elbow grease" during the straining process, but the payoff in terms of quality, flavor, and cost savings is immense. This guide will walk you through every step, ensuring you produce a fresh, clean, and delicious soy milk that will make you wonder why you ever bought it from a carton. Plus, we'll explore how to transform this humble milk into fantastic homemade tofu and utilize the fiber-rich soy pulp for other incredible recipes, making your kitchen truly zero-waste.
For more insights into the numerous benefits of making your own, check out Why Make Soy Milk at Home? Cheaper, Tastier, and Healthier.
Your Essential Guide to a Simple Homemade Soy Milk Recipe
Making your own soy milk starts with just two core ingredients: soybeans and water. The process is a delightful journey from dry beans to a silky-smooth beverage. Here’s how to do it, step-by-step:
What You'll Need: Ingredients & Equipment
- Soybeans: For a significant yield (enough for milk, tofu, and pulp recipes), start with 1 pound (approximately 500 grams) of dried soybeans. If you only want soy milk, you can easily halve or quarter this amount.
- Water: Plenty for soaking, blending, and cooking.
- High-Speed Blender: Essential for thoroughly grinding the beans.
- Large Bowls: Several for soaking, collecting milk, and holding pulp.
- Fine-Mesh Strainer, Nut Milk Bag, or Cheesecloth: Crucial for separating the milk from the pulp. A nut milk bag is often the easiest and most efficient.
- Large Pot: For cooking the soy milk.
- Large Spoon: For skimming foam.
- Airtight Glass Bottles or Containers: For storing your finished soy milk.
Step 1: The All-Important Soak
The first and arguably most crucial step is soaking your soybeans. This softens them significantly, making them easier to blend and increasing the yield of your milk. Simply place your desired quantity of soybeans in a large bowl and cover them generously with water (they will expand considerably). Let them soak overnight, or for at least 8-12 hours. You'll notice they've plumped up and softened by morning, ready for the next stage.
Step 2: Blending for Creaminess
Once your soybeans are thoroughly soaked, drain and rinse them. Now it's time to blend! For the best results and to protect your blender, work in small batches. Combine a small amount of soaked soybeans with an equal or slightly greater amount of fresh water in your blender. The goal is to create a thick, smooth batter. Blend for at least 2 minutes, ensuring no large chunks remain. A well-blended mixture leads to a higher yield of milk and a creamier final product.
Tip: Don't overload your blender. A good rule of thumb is to fill it no more than halfway with soybeans and water to allow for proper circulation and blending.
Step 3: Straining the Milk from the Pulp
This is where the "elbow grease" comes in! Place your nut milk bag or a double layer of cheesecloth over a large, clean bowl. Pour the blended soy mixture (also known as "soy slurry" or "okara mash") into the bag. Now, firmly squeeze and twist the bag to extract all the liquid. You want to exert as much pressure as possible to get every last drop of that precious soy milk. The liquid collecting in the bowl is your raw soy milk, and the fibrous solid left in the bag is the soy pulp, or "okara." Set the okara aside – we'll talk about its uses later!
Repeat this blending and straining process until all your soaked soybeans have been processed. You'll be amazed at the quantity of milk you can produce from a relatively small amount of beans.
Step 4: Cooking Your Homemade Soy Milk
Unlike dairy milk, raw soy milk cannot be consumed. It must be cooked to denature enzymes, improve flavor, and make it safe and digestible. Transfer your strained raw soy milk into a large cooking pot. You'll notice some foam forming on the surface – use a large spoon to skim this off before and during cooking for a smoother texture. Continue to remove any foam that rises during the cooking process.
Bring the milk to a gentle simmer over medium heat. It's crucial not to let it boil vigorously, as soy milk has a tendency to rapidly boil over and create a sticky mess! Watch it carefully, stirring occasionally to prevent scorching. Let it simmer gently for about 15-20 minutes. This cooking time is essential for developing its characteristic flavor and ensuring it's fully cooked.
Once cooked, remove the pot from the heat and leave it covered to cool down to room temperature. This gradual cooling can also contribute to a richer flavor.
Step 5: Storage and Customization
Once cooled, transfer your fresh homemade soy milk to clean, airtight glass bottles or containers. Store it in the refrigerator, where it will remain fresh for up to a week. The beauty of homemade soy milk is the ability to customize it! While it's delicious on its own, you can add:
- Sweeteners: Honey, maple syrup, agave, or your preferred sugar to taste.
- Flavorings: A splash of vanilla extract, a few drops of almond extract, or even a pinch of cinnamon can elevate the flavor profile.
Add these after the milk has cooled and before refrigerating. You have complete control over the sweetness and flavor, unlike many store-bought varieties.
For additional simple steps and tips, refer to our comprehensive guide: Easy Homemade Soy Milk: Fresh, Creamy, and Cost-Effective.
Beyond the Milk: Making Tofu and Zero-Waste Soy Pulp Recipes
The journey doesn't end with a fresh batch of soy milk. One of the most exciting aspects of making your own is the opportunity to create other delicious products and embrace a truly zero-waste approach in your kitchen.
Crafting Homemade Tofu from Fresh Soy Milk
The quality of your homemade soy milk is the foundation for truly superior homemade tofu. The fresh, clean taste and rich consistency of your milk will translate into tofu that is miles ahead of anything you can buy. While making tofu involves an additional step of coagulation (using a coagulant like nigari, gypsum, or lemon juice) and pressing, it's a natural progression once you have your fresh soy milk ready. Imagine silken tofu so fresh, it practically melts in your mouth, or firm tofu perfect for stir-fries, all made without any "weird, unrecognizable ingredients." Consult a dedicated silken tofu recipe for precise instructions on this rewarding process.
Zero-Waste Delight: Utilizing Soy Pulp (Okara)
Don't even think about discarding that soy pulp (okara)! This fibrous byproduct is a nutritional powerhouse, packed with protein and fiber, and incredibly versatile. It's the ultimate ingredient for a zero-waste kitchen. Here are just a few ideas for turning okara into delicious creations:
- Vegan Patties/Burgers: Combine okara with spices, herbs, breadcrumbs, and a binder (like flax egg) to form delicious, protein-rich patties perfect for burgers or meatballs.
- Savory Fritters: Mix okara with grated vegetables (carrots, zucchini), flour, and seasonings, then pan-fry until golden for a healthy side or snack.
- Baked Goods: Incorporate okara into muffins, breads, or cookies to boost their fiber content and add a subtle nutty flavor.
- Added to Soups & Stews: Stir a spoonful or two into your favorite soups or stews to thicken them and add a nutritional punch.
- Even Dog Treats: Many pet owners use okara as a base for homemade, healthy dog biscuits!
By utilizing the okara, you're not only reducing food waste but also adding a whole new dimension of culinary possibilities to your plant-based cooking.
Tips for the Best Homemade Soy Milk Experience
While the process is simple, a few expert tips can elevate your homemade soy milk game:
- Quality Beans Matter: Start with good quality, fresh, dried soybeans. Organic is a bonus.
- Experiment with Ratios: The water-to-soybean ratio can be adjusted slightly to achieve your preferred thickness. More water for a thinner milk, less for a creamier one.
- Don't Rush the Strain: This is where you extract the most flavor and nutrients. Squeeze firmly and patiently until no more liquid comes out.
- Watch the Simmer: Preventing boil-overs is key. Use a large pot, keep the heat medium, and stay nearby to stir and skim.
- Flavor Infusion: For truly gourmet milk, you can add whole vanilla beans or cinnamon sticks to the pot during the last few minutes of simmering, then strain them out before cooling.
- Cleanliness is Next to Freshness: Ensure all your equipment and storage containers are meticulously clean to maximize the shelf life of your homemade soy milk.
Conclusion: Embrace the Homemade Revolution
Making your own soy milk at home is a truly rewarding experience. It's an accessible project that offers unparalleled freshness, customizable flavors, and significant cost savings compared to store-bought alternatives. What starts as a simple homemade soy milk recipe quickly transforms into a journey of culinary creativity, allowing you to produce your own fresh tofu and explore delicious, zero-waste recipes using the nutritious soy pulp.
Yes, it requires a little effort and attention, especially during the straining and simmering phases. But the satisfaction of sipping a glass of freshly made, perfectly sweetened (or unsweetened) soy milk, knowing exactly what went into it, is truly unbeatable. So, roll up your sleeves, embrace the process, and unlock a world of fresh, wholesome, and delicious possibilities right in your own kitchen!
